Roman Blinds Installation
ITEMS:
- Roman Blind + Brackets + Screws
- Chain Safe - if ordered
TOOLS REQUIRED:
- Cordless drill + Metal tape measure + Pencil
TIPS:
- Ensure you have a clean work area to start
- A second person is helpful when installing blinds wider than 2000mm
- Be careful not to cut blind with a sharp object when removing packaging
Step 1
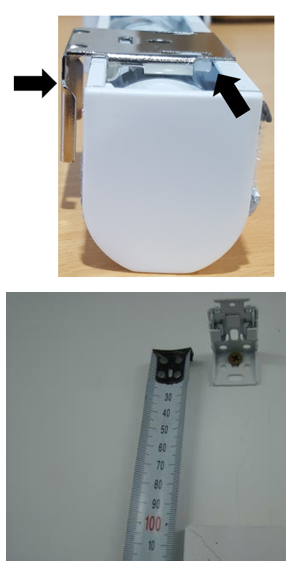
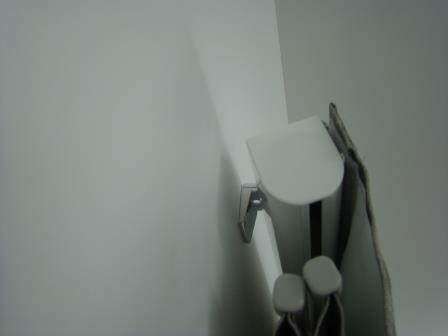
 | Carefully remove Roman from outer plastic wrapper, remove plastic and rubber band from chain. Release brackets from the Roman track, by pushing the back of the bracket towards the track and lifting up the top of the bracket at the same time, lifting and pulling it away from the track. The metal bracket has a plastic spring insert, so by pushing it towards the track this compresses the spring. Take a good look at how the brackets slot into the grooves of the track. Using a metal tape measure, measure 100mm* above the top of the frame and make a light pencil mark directly in line with the architraves left and right far ends as (per photo, not wider than frame). There is usually solid fixing in line with the architrave so it is good to have your two end brackets fixed there. Screw brackets into your pencil marks with a cordless drill. Fix remaining brackets evenly across between your two end brackets. One screw per bracket is sufficient. *Please note 100mm above is our recommended standard height but may not apply to you. So measure your brackets to go however much you measured blind to go above, determined at time of order. For example some people order Romans to go 250mm above, or less than 100mm because they don't have 100mm above. |
Step 2
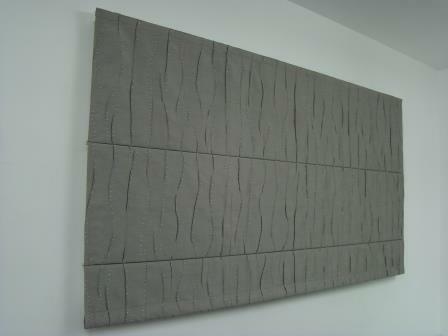
 | Now that your brackets are evenly placed across the top of your frame pick up your Roman Blind with clean hands. It should still be in the fully folded position, with rubber band off chain. Look at the tracks profile, you are going to hook track over front of bracket and push back towards wall. Track should click into brackets and feel very secure. Make sure each bracket has good hold of the track. |
Step 3
 | You are now finished. Tips with Romans, never remove any of the plastic components off the back of the blind, they are all there for a reason. The chain is continuous, you pull the front chain to lower the blind and the back chain to raise the blind. Do not keep pulling on the chain when the Roman is in the down position as this will reset the chains pulling directions. Always pull the chain straight, do not drag it across the fabric as this can fray fabric over time. Be gentle with your chains, the plastic chains are very robust and will only snap with extreme use. Our Nickle Plated chains are a little less strong and can snap with reasonable force. |
Optional: Chain Safe
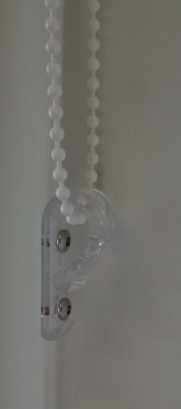
The Chain Safe is an optional extra that will securely hold your chain in place against the window recess or wall. We send them with your blind only if you ordered them. Chain safety devices are required by law in many countries as loose chains can pose a risk to young children. New Zealand does not currently have legislation for chain safety devices to be added to blind chains, but it is an easy to implement precautionary measure we offer to help keep your loved ones safe. Some people also just like the neat and tidy look.
To fasten the Chain Safe hook the bottom of the chain around the clip of the Chain Safe and position it to the frame or wall. Make sure the position of the Chain Safe will not interfere with the blind once fully wound down. Allow for some slack in the chain so you may still operate the blind easily. Once you are satisfied with the position drill into place.


