
0 items
in your cart
ITEMS: TOOLS REQUIRED:
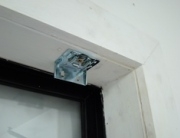 | Unwrap your Honeycomb blind. Place the brackets evenly across your frame and screw into place. |
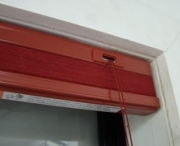 | When fitting the blind, leave the blind pulled up. On the front of the head rail at the top there is a lip. Hook this lip over the front of the bracket then push the back of the head rail up into the bracket until you hear it click into place. |
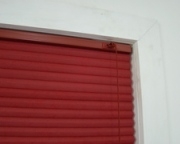 | This is how it should look once completed. Pull the cords toward the middle of the blind, this releases the cord lock allowing you to lower the blind. |
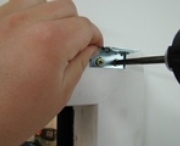 | Unwrap your Honeycomb blind. Place the brackets evenly across your frame and screw into place. Note: Pre-drill face fixed brackets (use 4mm drill bit) |
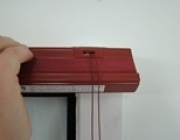 | When fitting the blind, leave the blind pulled up. On the front of the head rail at the top there is a lip. Hook this lip over the front of the bracket then push the back of the head rail up into the bracket until you hear it click into place. |
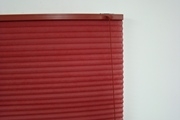 | This is how it should look once completed. Pull the cords toward the middle of the blind, this releases the cord lock allowing you to lower the blind. |